
 The Practical Life
Gardening & Self-Sufficiency
The Harvest
Capability & Food Security

A garden is more than a hobby. It is a quiet expression of your own capability, and a real step towards food security.
Most of us depend entirely on shops and long supply chains for our food, which leaves our homes exposed when prices rise or deliveries are disrupted.
The Harvest is a practical guide for your own Pathway of Restoration: a way to move from only consuming food to producing some of it yourself. It starts with seven plants worth growing, then shows you how to read the sun in your garden, build a raised bed, water it well and feed it with your own compost.
“Exercise in the open air should be prescribed as a life-giving necessity. And for such exercises there is nothing better than the cultivation of the soil.”
Try it
Where the sun falls on your bed
Mark where the sun falls at the guide's three times, and see which of the seven plants will thrive there.
Look three times in one day. Is the bed in sun?
Where is your garden?
Sun at 2 of 3 times. Southern Hemisphere: your sun is in the north, so aim the long side of the bed to face north.
Look again in winter if you can: a fence that seems harmless in January can shade the whole bed in July.
- TomatoFruiting crops need the strong overhead sun at noon, and this bed has it.
- ZucchiniFruiting crops need the strong overhead sun at noon, and this bed has it.
- CucumberFruiting crops need the strong overhead sun at noon, and this bed has it.
- CapsicumFruiting crops need the strong overhead sun at noon, and this bed has it.
- LettuceShade at 3 pm helps leafy greens keep from bolting in summer.
- CarrotSun matters less than soil: loose, fine and free of stones.
- AvocadoSun matters less than drainage: plant on a raised mound for dry feet.

Isaiah 35:1
“The wilderness and the solitary place shall be glad for them; and the desert shall rejoice, and blossom as the rose.”
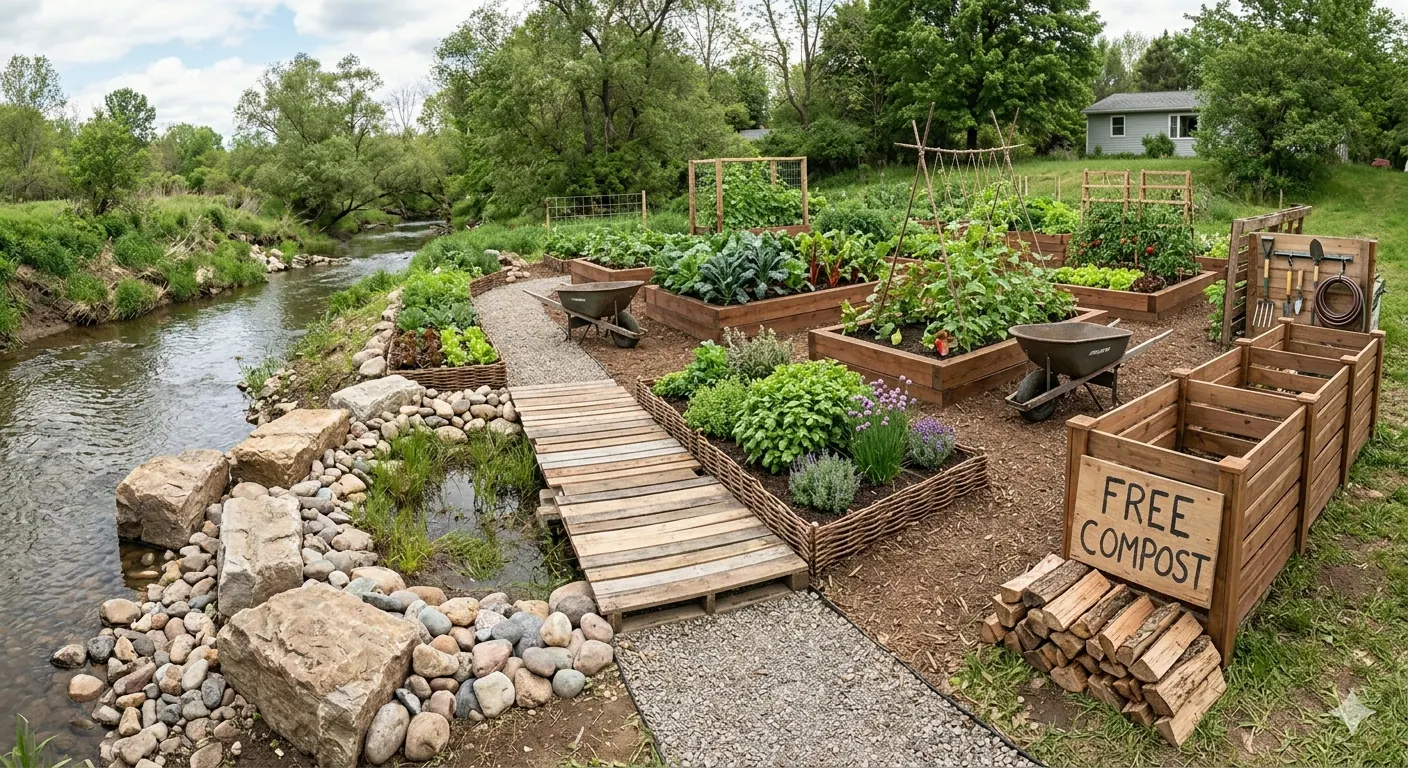 This picture is an Illustration
Plant guide
Seven plants to start with
Each of these has one habit that makes the difference between a struggling plant and a generous one.
Lettuce
The art of the lettuce harvest lies in the ‘cut and come again’ method. Pick the outer leaves and leave the centre and roots in place, and the plant keeps giving fresh greens.
Cucumber
Growing cucumbers well calls for vertical thinking. Train the vines up a frame or trellis and you make the most of your garden’s space, and keep the fruit clean and easy to reach.
Tomato
A productive tomato plant comes from regular pruning. Removing the side shoots (laterals) directs more of the plant’s energy into fruit rather than extra leaves.
Avocado
Growing avocados is a lesson in drainage. Avocado roots dislike sitting in wet soil, so plant on a raised mound to give the tree ‘dry feet’. It is one of the most important things you can do for its long-term health.
Zucchini
The secret to good zucchini is picking at the peak of flavour. Harvest them about the size of a banana, while they are still tender, and check the plants every day or two in summer.
Carrot
A straight, strong carrot is earned before you sow, by preparing loose, fine, stone-free soil that lets the root grow down without resistance.
Capsicum
Patience is the key to the capsicum. Green capsicums are edible, but leaving the fruit on the plant to ripen fully to red unlocks its true sweetness.
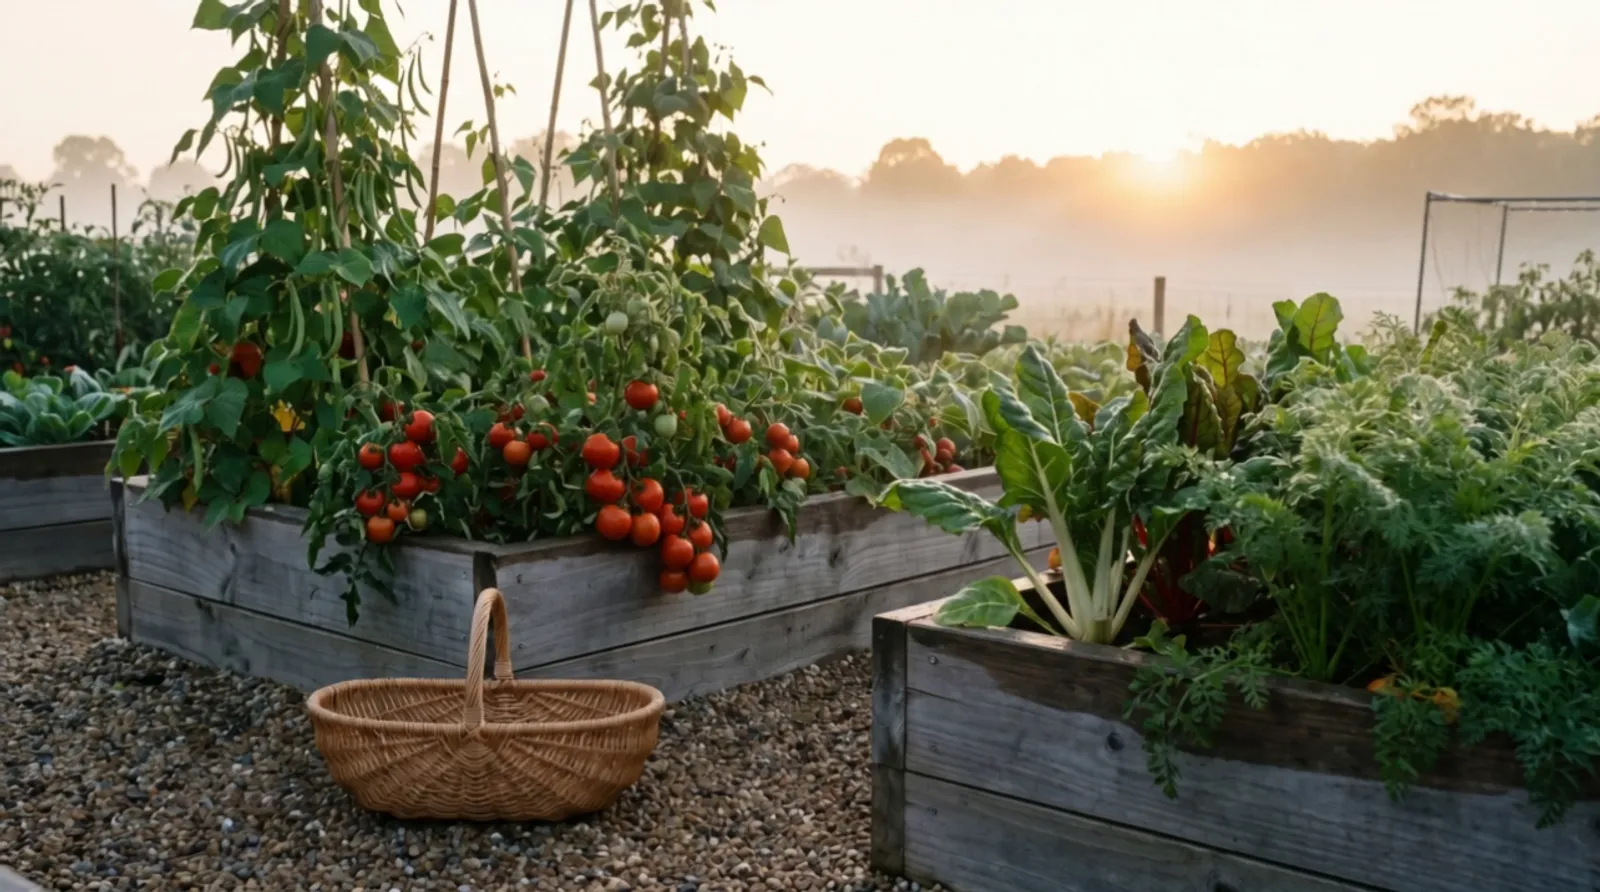
From dawn to full sun
The sun is your garden’s energy source. Before you build or plant, spend one day watching where its light falls.
 This picture is an Illustration
Three-point observation
Where the sun falls in your garden
Three times in one day
The goal: Find out how many hours of sun your garden bed will receive. Look three times in one day.
9 am: the morning
Check for shadows from fences, trees or your house. Morning sun is gentle; it dries the dew, which helps keep fungal diseases away.
12 noon: the strongest sun
This is when the sun is highest. Most fruiting crops, such as tomatoes and zucchini, need this overhead sun to crop well.
3 pm: the heat of the afternoon
Afternoon sun can be harsh. In the height of a Kiwi summer, a little shade at this hour can help stop leafy greens from ‘bolting’ (going to seed too early).
Then look again in winter
Look again in winter if you can. A fence that seems harmless in January can cast a long, cold shadow across your whole bed in July, when the sun sits lower in the sky.
Once you know where the sun falls, the next two parts of this guide show which way to face your bed and how to arrange what grows in it.
 This picture is an Illustration
Orientation
Which way your garden bed should face
The direction of your best sun depends on which side of the Equator you live.
Southern Hemisphere
New Zealand, Australia, South Africa and South America: your sun is in the north. In New Zealand, your garden’s best friend is the north, so aim the long side of your bed to face it.
Northern Hemisphere
The USA, the UK, Europe and most of Asia: your sun is in the south, so your garden needs a clear view of the southern sky.
The tropics
Near the Equator the sun passes almost straight overhead. There, orientation is less about catching sun and more about sheltering plants from the midday heat and coping with heavy rain.
The shadow order
Laying out the bed so no plant is left in shade
Once you know where your sun is, arrange the bed so your plants do not compete with each other for light.
The east–west line
Lay the long side of your bed along an east–west line. The sun then tracks along the whole length of the bed through the day, and no plant is left in permanent shadow.
The back row
Put your tallest plants (corn, sunflowers, trellised tomatoes or cucumbers) on the side furthest from the sun: the south side in the Southern Hemisphere, the north side in the Northern.
The front row
Put your lowest-growing plants (strawberries, lettuce, herbs) on the side nearest the sun.
The result
A staircase of growth, where every leaf has a clear view of the sky.
Garden bed basics
Building a raised garden bed
A standard bed is 2.4 m long and 1.2 m wide. Here is how to build one in four steps, with the materials and tools for each.
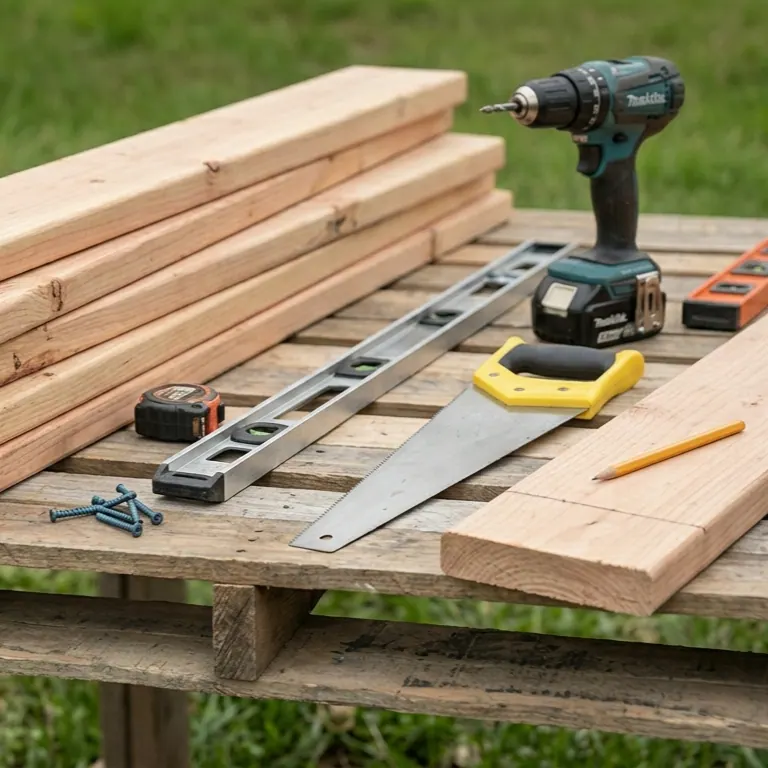
Gather what you need
Six lengths of 200 × 50 mm untreated timber (macrocarpa or pine), a box of 100 mm galvanised screws, and plain cardboard without printing for the base. For tools: a drill with a driver bit, a spirit level so the bed drains evenly, and a tape measure to keep your dimensions true.
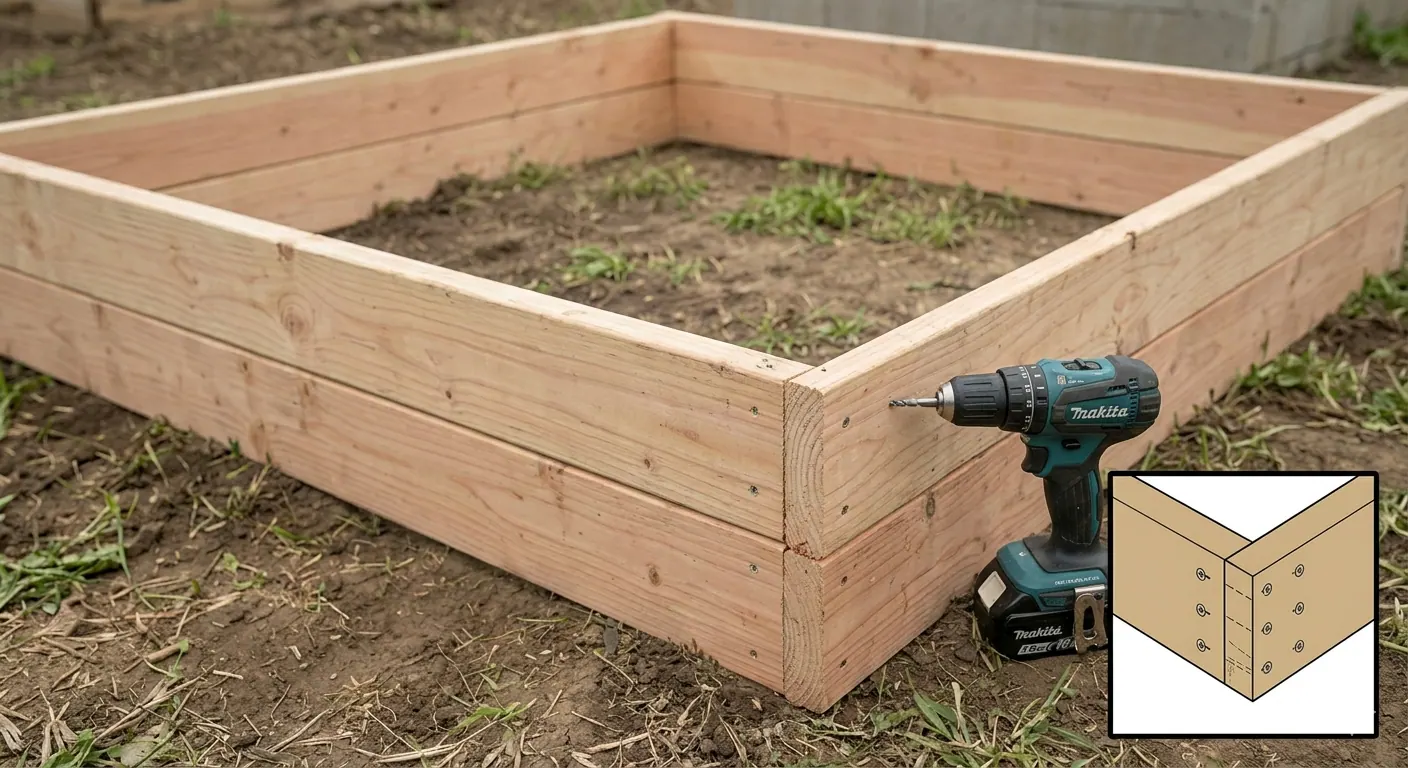
Build the frame
Precision starts with a level base. Assemble the frame where it will stand, and pre-drill the corner holes so the timber does not split. A well-built frame will last for years.
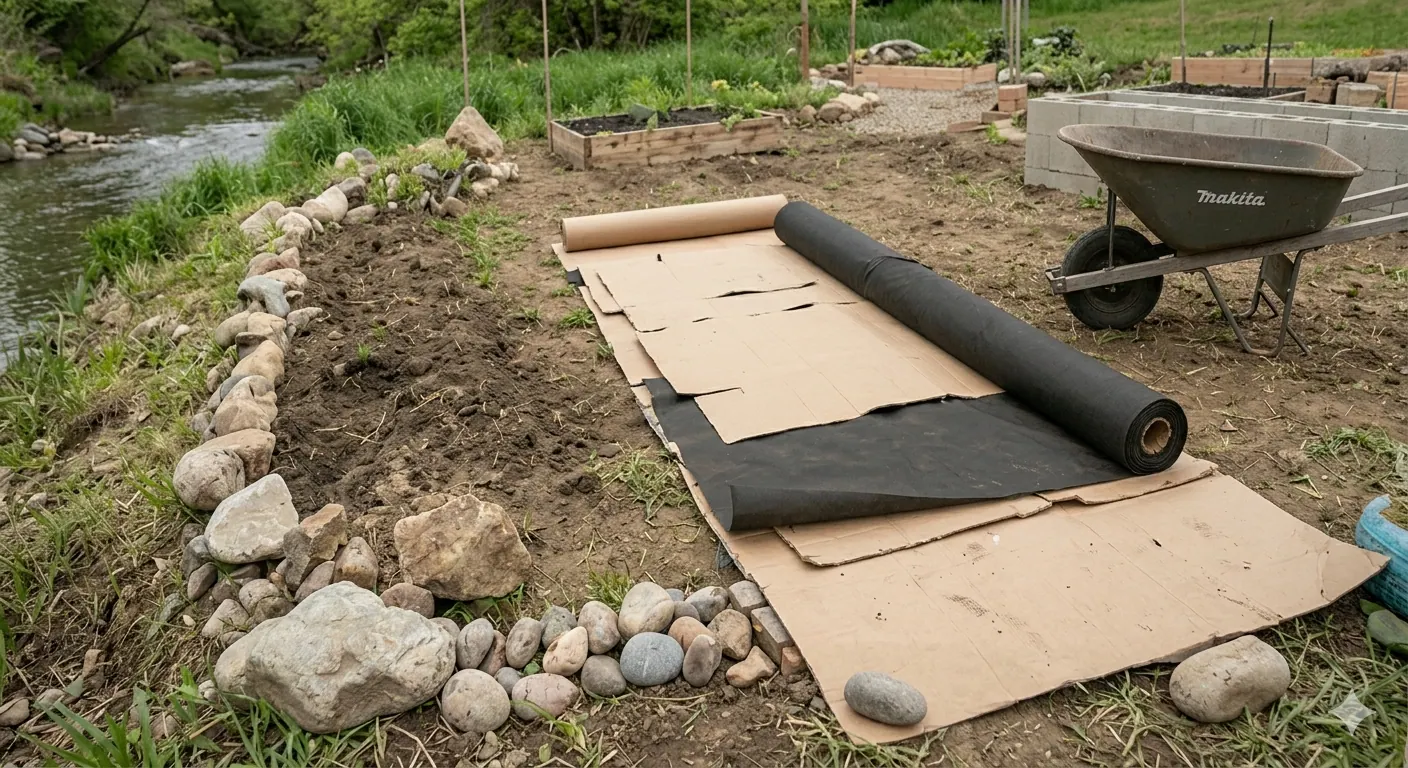
Lay cardboard to keep weeds out
A simple, chemical-free start is a thick layer of cardboard on the ground inside the frame. It smothers the grass and weeds underneath, and worms are drawn to it as it breaks down.
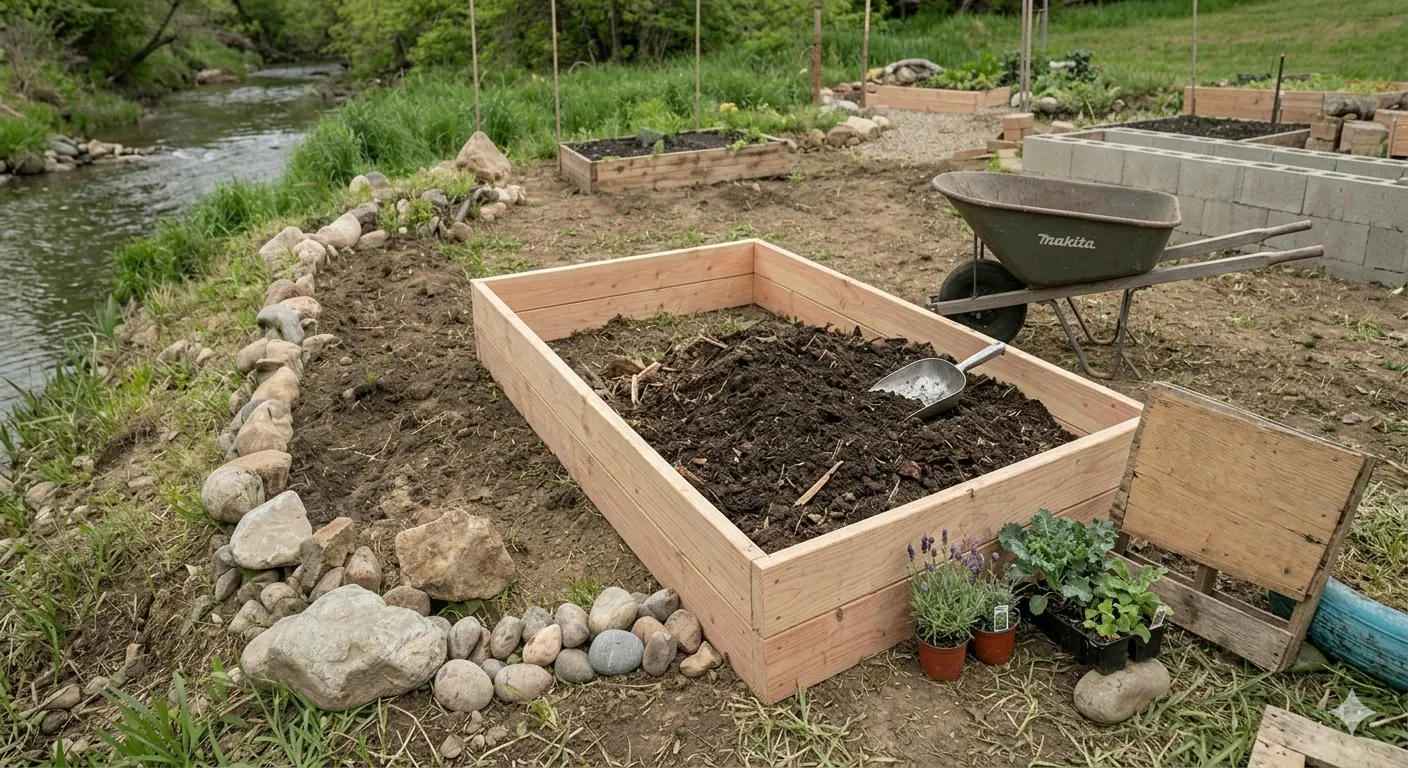
Fill it with living soil
Fill the bed with roughly half screened topsoil and half good compost. Together they give a good balance of drainage and nourishment.
The pictures in these steps are illustrations from the trust’s original guide, not photographs of a finished trust project.

Two simple ideas do most of the work: water deeply so the roots grow down, and let the soil, not the calendar, tell you when.
The deep root strategy
The goal: Encourage roots to grow deep, for stability and to help plants cope in dry spells.
Deep, not shallow
Avoid sprinkling the surface every day; it keeps roots shallow. Water deeply two or three times a week instead, so roots grow down into the cooler, damper earth.
The morning habit
The best time to water is early morning. The plant can drink before the heat of the day, and the leaves dry quickly, which helps prevent mould and fungal disease.
Aim for the soil
Water the base of the plant, not the leaves. Wet leaves invite pests and disease, and it is the roots that do the drinking.
Use your senses
The goal: Use your senses, not a schedule, to decide when to water.
The finger test
Don’t guess. Push your finger into the soil up to the second knuckle. If it feels dry at the tip, it is time to water. If it is damp, leave it alone.
Mulch
Cover the soil with a layer of straw, wood chips or pea straw. Mulch slows evaporation and keeps moisture where it belongs, so you will need to water less often.
The wilt warning
A plant that wilts in the afternoon heat may just be protecting itself. If it is still wilted the next morning, it is stressed and needs a good drink straight away.
Collecting your own rain for the garden is the subject of Catching the Rain, the next guide in this series.
Hydrate: Catching the RainCompost basics
Compost: the engine of the garden
Compost turns kitchen scraps and garden waste into the food your next crop grows in. Three things keep a heap working.
The mix
Aim for roughly three parts ‘browns’ (dried leaves, shredded cardboard, straw) to one part ‘greens’ (kitchen scraps, fresh grass clippings, coffee grounds).
Air
Your compost heap needs to breathe. Turn it with a garden fork about once a week to let air in and speed up the breakdown.
Moisture
It should feel like a wrung-out sponge. Too dry and it will not break down; too wet and it will start to smell.
“While the earth remaineth, seedtime and harvest, and cold and heat, and summer and winter, and day and night shall not cease.”
Genesis 8:22 (KJV)
Read alongside
The Practical Life puts the eight principles of health to work at home. These are the ones closest to this guide.
More from The Practical Life
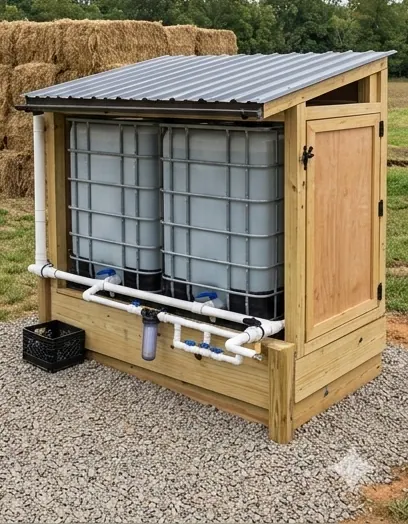 Catching the RainCollection guides for your home: how to build a simple rainwater system, a ‘water house’, for the garden.Hydrate
 BreathFresh breath of peaceful air: movement, rest and quiet for mind and body.Breath
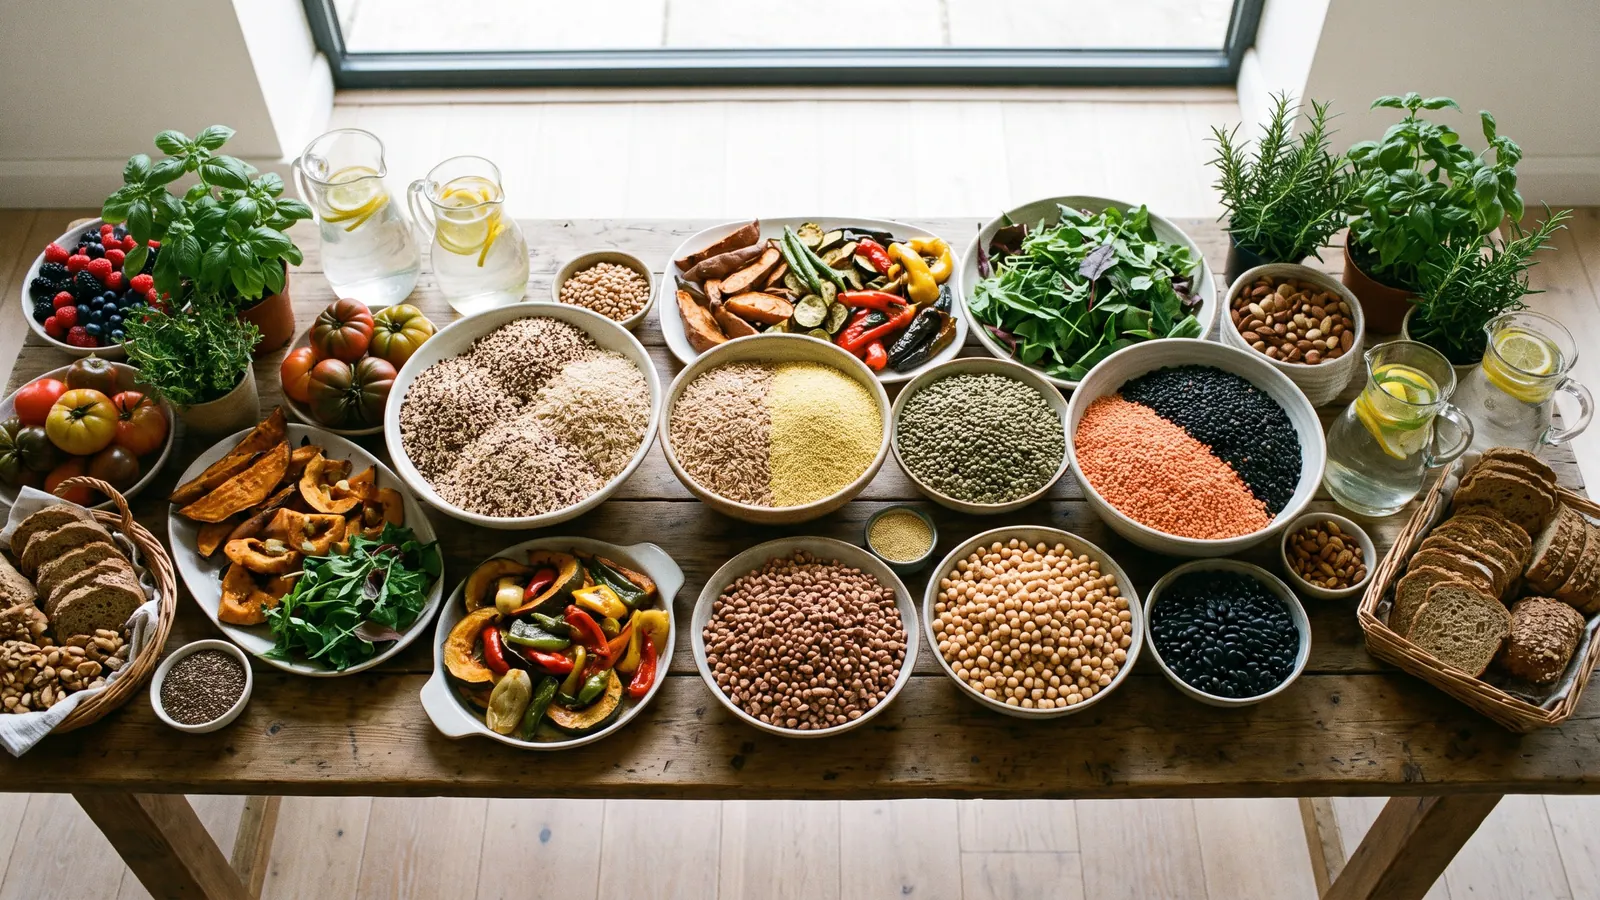 NutritionFrom the garden to the table: simple, wholesome food and a pantry that keeps.Produce
Questions about any of this?
If something here is unclear, or you would like help getting started, email us. A real person reads every message.